
Infrared Sauna Ventilation Requirements: A Door Gap, a 65°F Room, and Nothing More
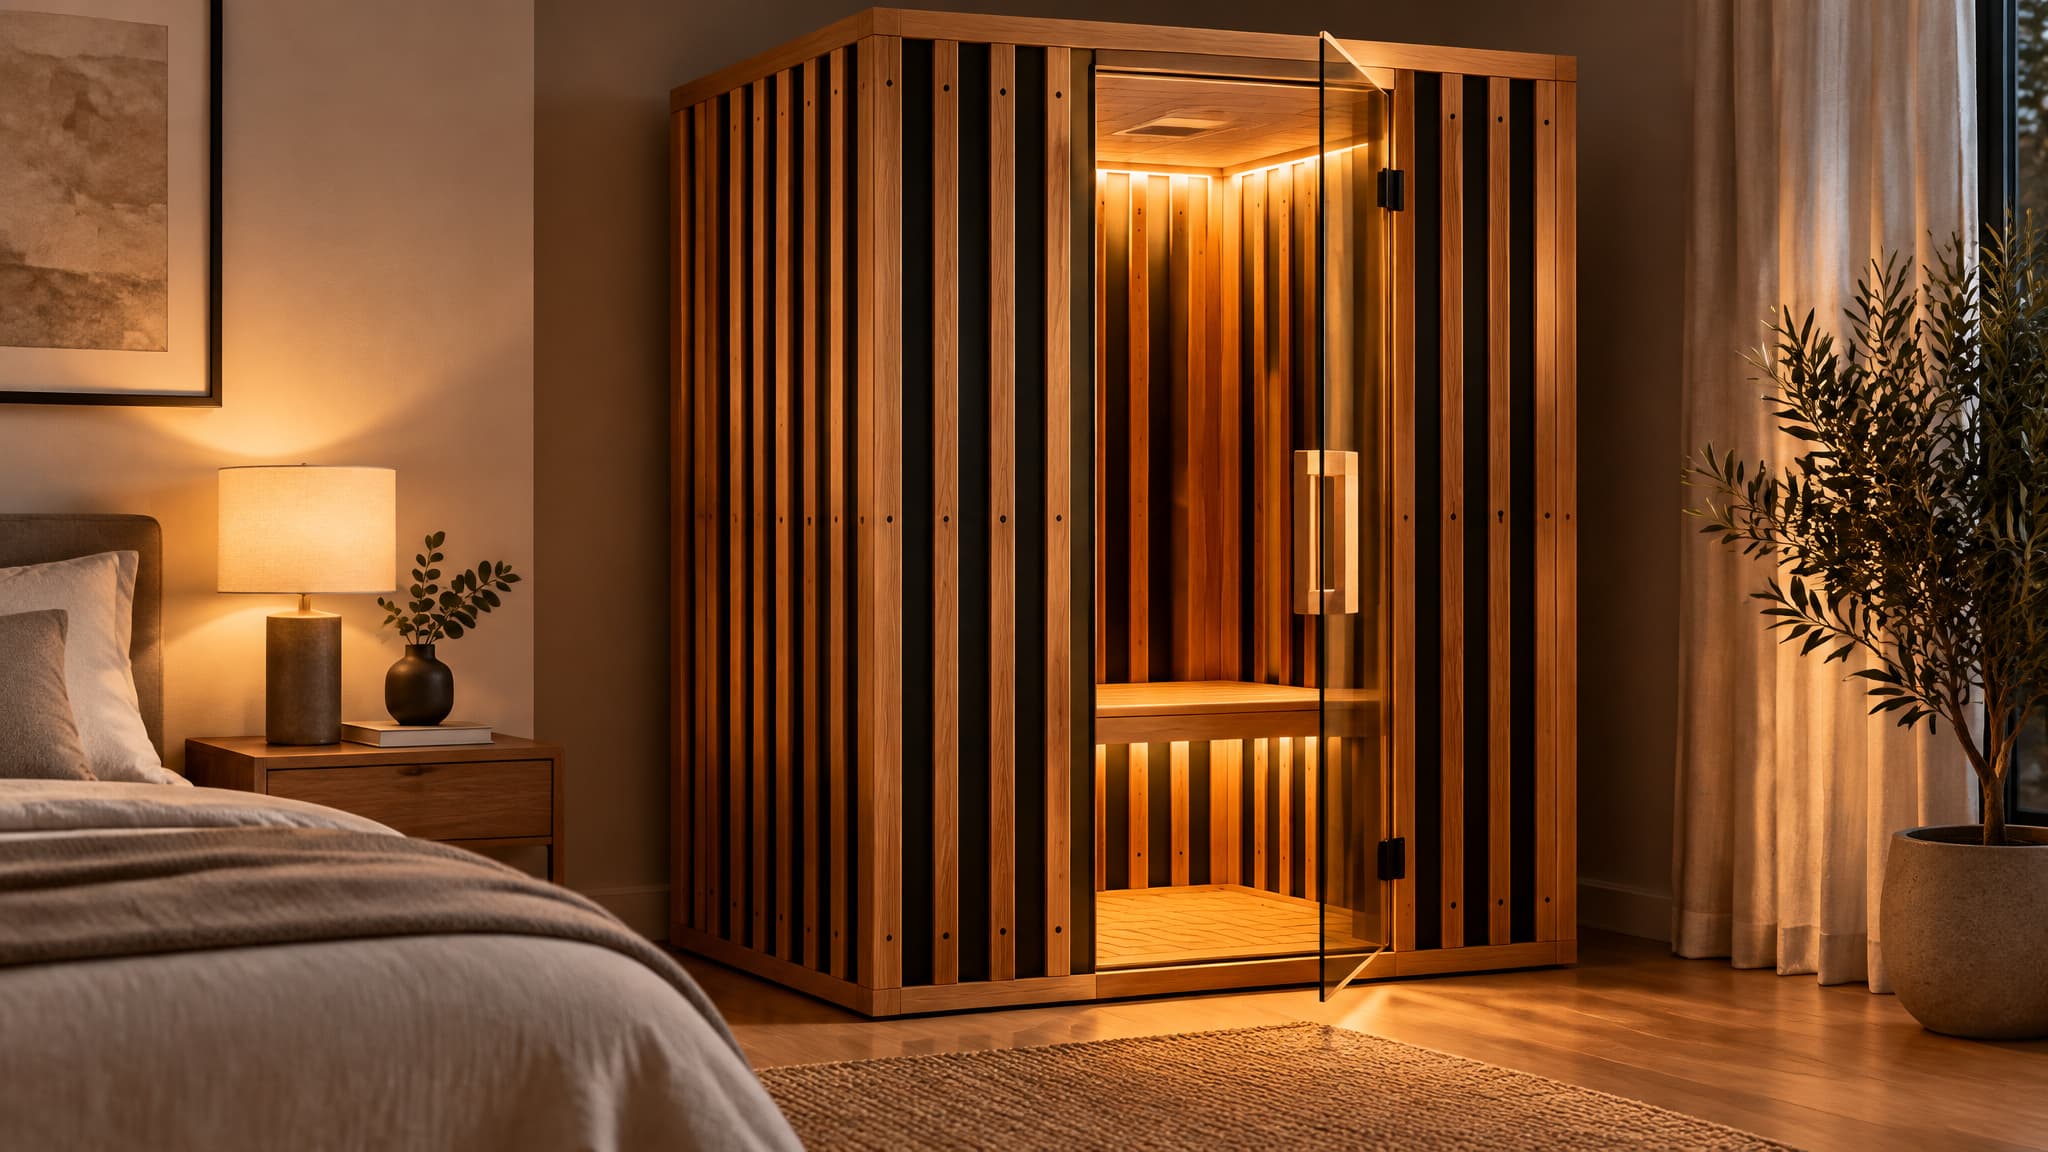
Key Takeaways
- Infrared saunas don't need dedicated venting, exhaust fans, humidity control, waterproofing, or a floor drain; the engineered door gap plus 15-20 minutes with the door open after each session handles all moisture and fresh-air needs.
- Placement ranking: bedroom corner → spare room or home gym → basement → insulated garage → covered outdoor only; the room just needs a 65°F minimum temperature (68-70°F is ideal), a level floor, and normal air exchange from a hallway door or HVAC vent.
- Electrical is the real variable: 1-person models run on a standard 120V/20A outlet (NEMA 5-20), 2-3 person models need a dedicated 240V circuit ($150-$400 to install), and your specific model's manual, not general advice, settles conflicts like whether to use a GFCI breaker.
It's 11pm, you've fallen down a research rabbit hole, and suddenly the search results have you convinced that buying an infrared sauna means hiring a contractor, running ductwork through your walls, and gutting a spare room to be "sauna-ready." Take a breath. That story isn't true for the kind of sauna you're actually buying. Infrared sauna ventilation requirements, it turns out, amount to three things: a gap under the door (which is designed in, not a flaw), a room with normal airflow like any lived-in space, and an outlet your kitchen appliances would recognize. No ducts, no drains, no ventilation fan, no reno.
There are really three scopes to keep straight, because this is where most conflicting advice online comes from. Your sauna unit needs a door gap and one small habit from you. Your room needs ordinary air exchange. And only big, built-in infrared installs, or traditional steam saunas, need the engineered venting that the scarier articles describe.
If you're plugging a cabin into the corner of a bedroom, most of that doesn't apply to you. Setup finishes within a day of delivery, and assembly usually takes a couple of hours with a screwdriver and a mallet.
Do infrared saunas need to be vented?
Infrared saunas don't need dedicated venting. Radiant heat warms your body directly, like sunshine without the UV, so there's no steam, no exhaust fan, no humidity control, no floor drain, and no waterproofing to install. A traditional steam sauna heats the air around you and adds moisture, which is why it demands an engineered ventilation system. Infrared doesn't, and that difference explains almost everything else in this article.
What the unit needs: a door gap
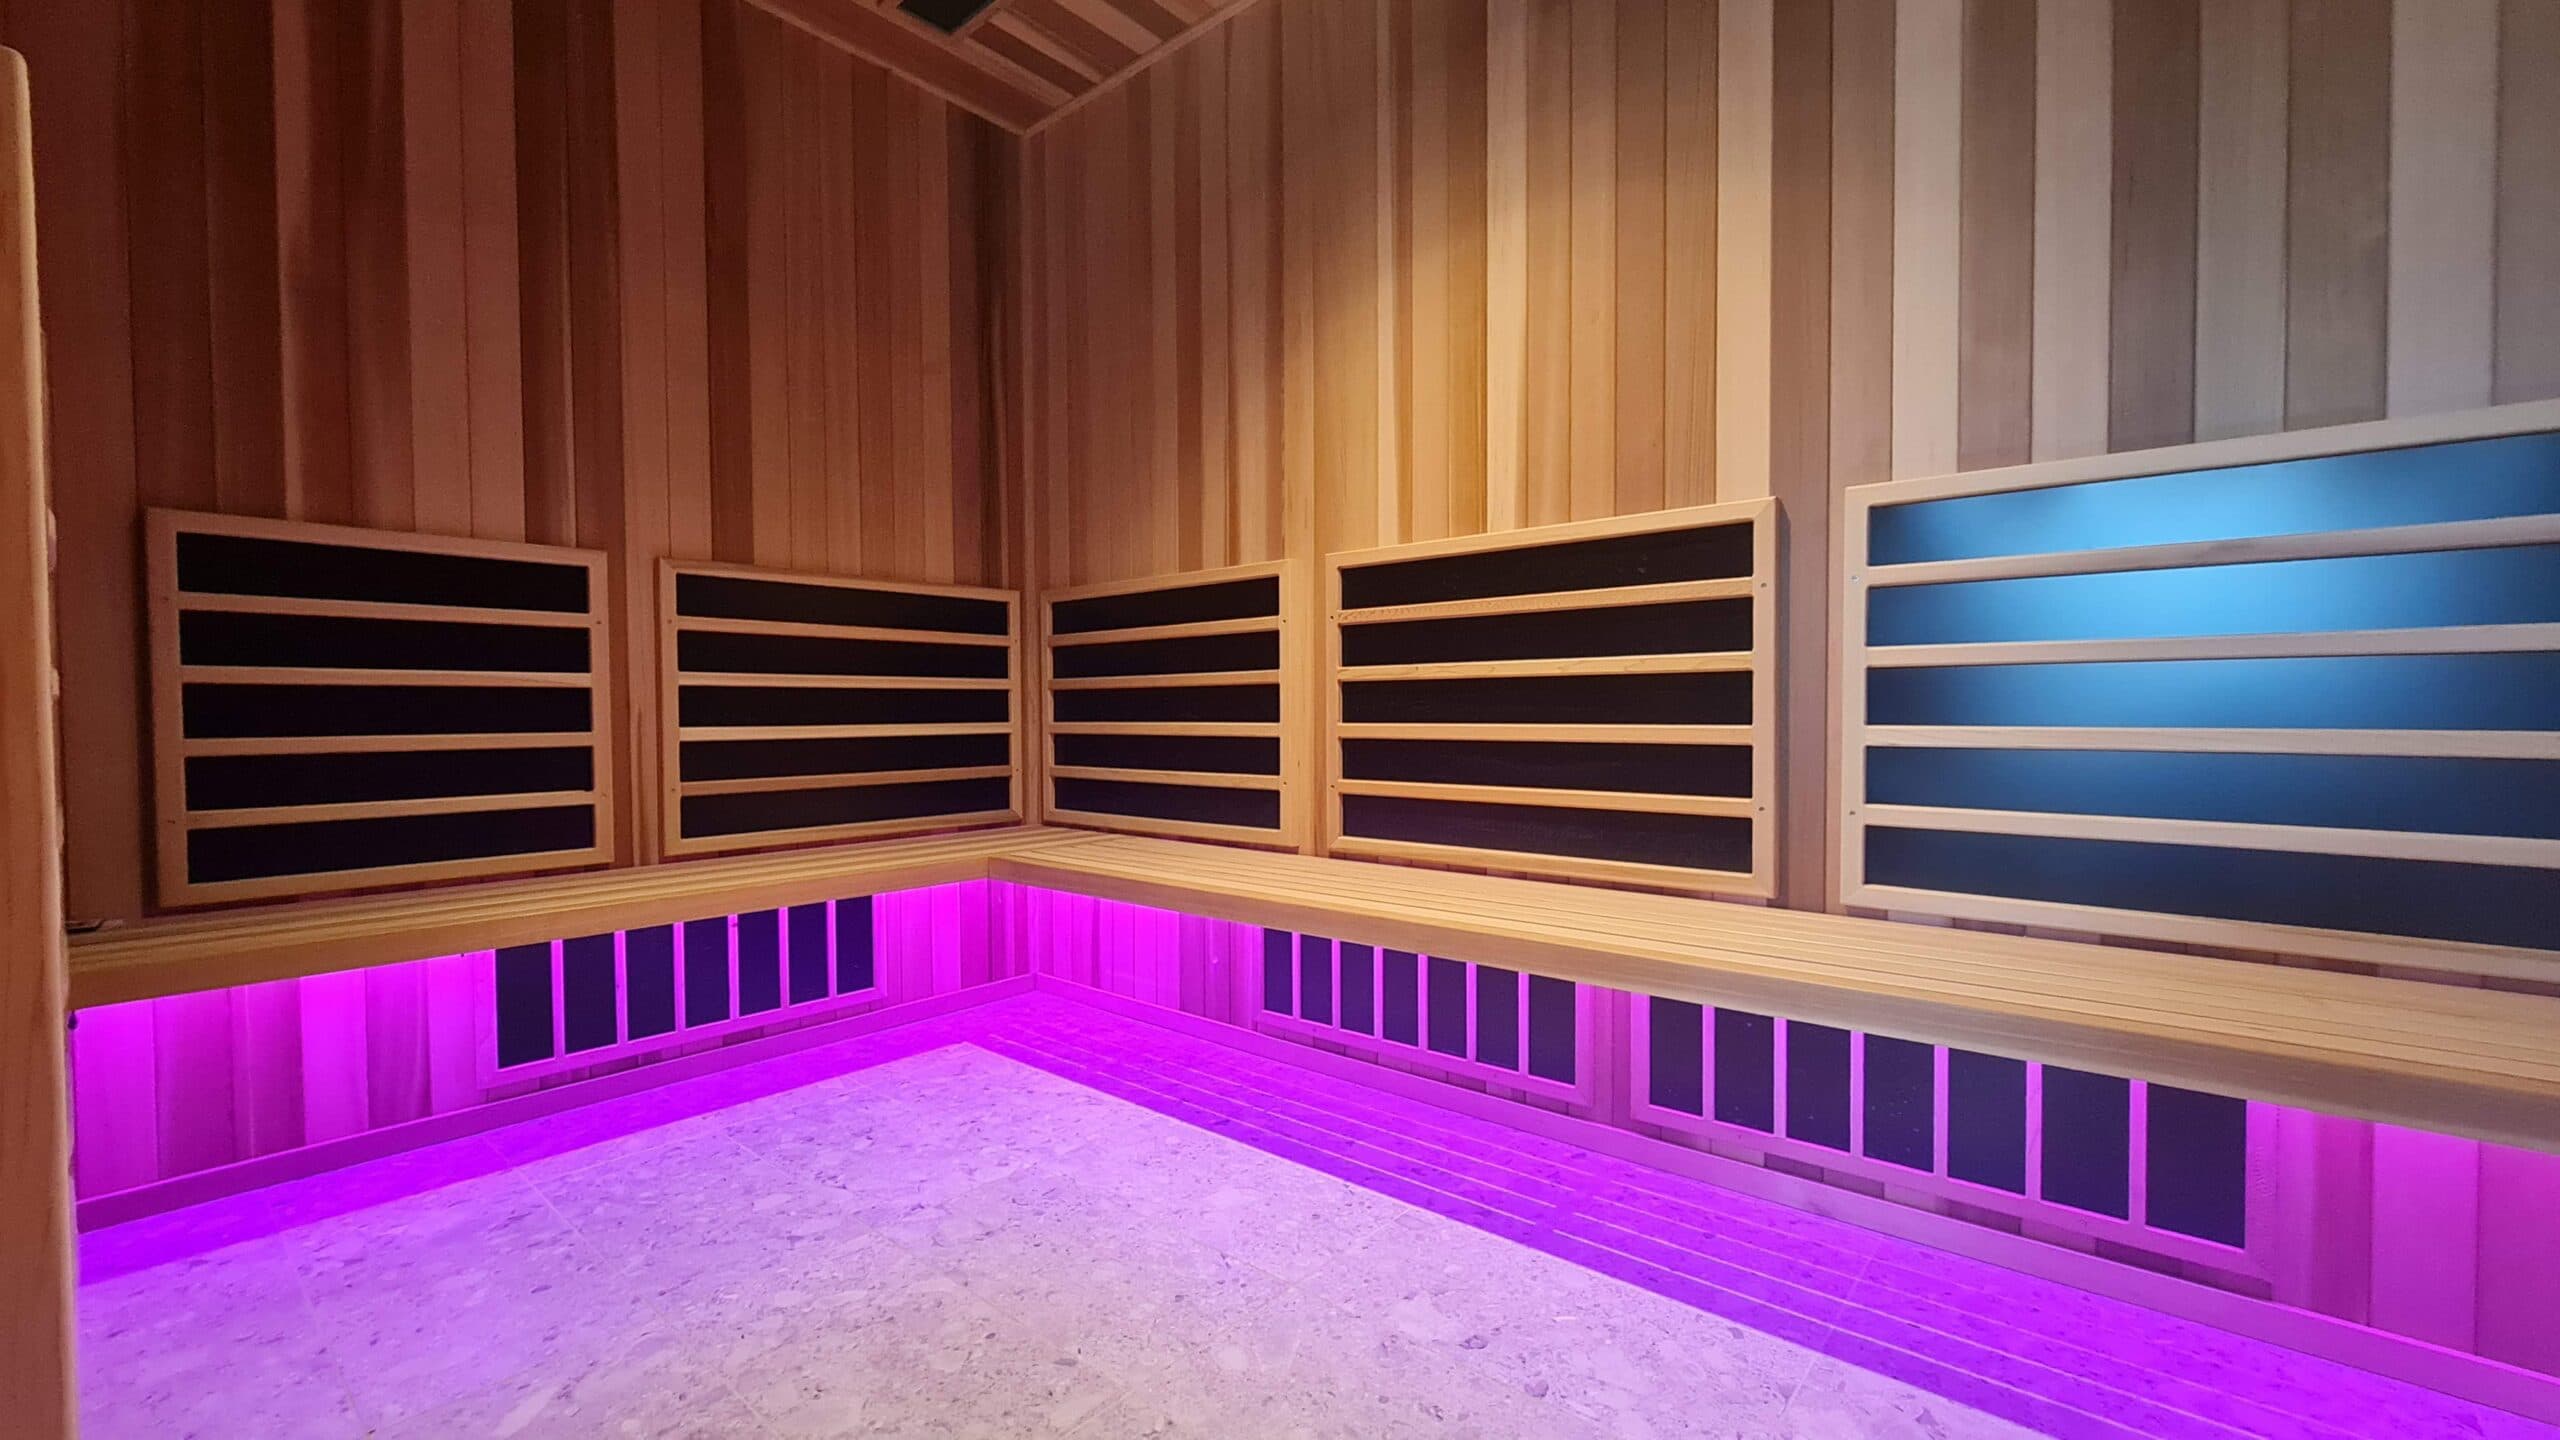
Every infrared cabin has a small gap under the door, and it's there on purpose. That gap keeps air circulating during your session so it stays comfortable, and it lets the wood dry out between uses so the cabin stays in good shape. It's standard across 1-4 person and corner designs, and it's engineered into SaunaCloud cabins too, so you're not shopping for a special model or adding a vent kit. The gap is the ventilation system.
You contribute one habit: after each session, leave the door open for about 15-20 minutes. That clears the leftover heat and sweat moisture, and since sweat is the only humidity your cabin ever sees, this one routine is the whole moisture-management system. It prevents warped wood and keeps the inside smelling fresh, which is cheap insurance on a purchase this size.
Quick test: If your sauna shipped flat-packed and plugs into a wall outlet, your entire moisture plan is the door gap and 15-20 minutes of airing after each session.
What the room needs: normal air exchange
The room itself just needs ordinary airflow. If there's a door to the hallway or an HVAC vent in the space, you've met the requirement. A fully sealed room will slowly warm up over repeated sessions, so it's worth avoiding, but that's a calm note, not a warning.
One scope clarification, because you'll see a number online: larger or built-in infrared installations sometimes use a vented configuration targeting 4-5 air changes per hour, meaning how many times the room's full volume of air swaps out hourly. That's big-build territory, not plug-in cabins. If your sauna shipped flat-packed and plugs into a wall outlet, this paragraph isn't about you.
Why traditional sauna ventilation rules don't apply here
Traditional saunas heat the room's air and add steam, which is why they need balanced intake and exhaust vents, and infrared saunas need none of that at the unit level. This is the source of most of the conflicting advice you've read: half the internet is describing Finnish-style builds, and the other half is describing your plug-in cabin. They're different machines with different needs.
The two-vent spec, in words
Here's the traditional setup, so the searches for "vent kit" and "intake vent" resolve cleanly. A Finnish-style sauna uses two matched vents: an intake roughly 12 inches off the floor near the heater, giving somewhere around 100-150 square inches of opening, and an exhaust on the opposite wall near the ceiling, about 2-3 feet higher than the intake. The target is about 6 air changes per hour. The mental picture is simple: fresh air comes in low, stale air exits high, and the stack effect, which is just warm air rising, drives the whole flow. Adjustable louvers let the bather fine-tune it.
None of that exists in your infrared cabin, because there's no steam to move.
When codes actually apply
The building codes people cite target traditional and built-in sauna rooms. ASHRAE Standard 62.1 sets a ventilation baseline of roughly 30 CFM per person, or 6-8 air changes hourly, and the International Residential Code's 2021 edition calls for a 4x8 inch opening near the top of a sauna door. Both are about engineered sauna rooms. A plug-in infrared cabin generally sits outside that ducted-vent scope, but don't assume blanket exemption: local amendments vary, and if you're in California or anywhere with stricter codes, a quick call to your local building department settles it.
Materials and scope
If you do end up in engineered-build territory, the materials matter: any fan needs a 200°F+ rating with a moisture-resistant motor, ducting should be galvanized steel or aluminum rather than plastic, vapor barriers apply to enclosed indoor sauna rooms, and even bench slat gaps of a quarter to half inch help air move. There's also a traditional heuristic called the "200 rule," a temperature-plus-humidity guideline that has limited relevance to infrared. And the scale split: home setups serve 2-4 people with natural vents, while commercial spaces serving 10-20 need mechanical ventilation and health department approval. Almost nobody reading this needs the commercial half.
Garage installs: what actually works
Venting a garage infrared sauna is passive: a door gap, an aired-out space, and cross-flow from a cracked window or a louvered vent do the job. No powered exhaust, no vent fan with a CFM rating.
Cold air is the real opponent
The garage door seal matters more than any vent. Cold leaking under it can drop the room below 65°F, which is the floor where heat-up may outlast the timer (more on that below; 68-70°F is the ideal range). In our installs, the pattern we see with garage placements is that cold mornings are when problems show up, not heat or moisture. Insulation is the fix for cold climates; the unit will still run, but it needs extra time to hit target temperature in a very cold space.
Cars bring more than the driveway
A closed garage with a recently driven parked car traps both moisture and exhaust fumes. Air the space out before sessions, and don't sauna with a running or just-driven car nearby. This one is general air-quality caution more than heavily documented guidance, but it costs nothing to open the garage door for a while first.
The short list of fixes
Door gap (built in), cracked window or open interior door for cross-flow, louvered vents if you want permanent passive airflow, and an insulated framed enclosure if cold is the issue. That's it. If you're weighing garage placement in more depth, we've covered it in can i put an infrared sauna in my garage.
Where to put it, ranked
Best placement runs, in order: bedroom corner (fits most 1-2 person units), spare room or home gym (nice because it stays assembled), basement (concrete floor and electrical capacity are genuine pluses), insulated garage, and covered outdoor only. These saunas aren't waterproof, so outdoor placement requires a covered enclosure. Say it again for the back row: no uncovered outdoor placement, ever.
The skip list is short. No electrical access means no sauna. Low ceilings kill it: most saunas stand 6'6"-7' tall, so grab a tape measure before you fall in love with a model. And chronically damp rooms, like a poorly ventilated bathroom or a flood-prone basement, are bad news, because wood plus constant moisture doesn't mix.
For concrete sizing, the Peak Saunas Aspen (1-person) and Fuji (2-person best-seller) both fit comfortably in most bedrooms or spare rooms. And if your basement runs cold, framing an insulated 12x12 room inside the unfinished space is the standard workaround.
Clearance, flooring, and weight
The numbers: 6 inches minimum on the sides and back (airflow, and keeping heat off your drywall), 24-36 inches in front so the door swings open, 12 inches to the ceiling (these saunas vent through the top and sides), and a floor level within a quarter inch across the footprint, because a big slope causes door sealing problems and stresses the frame.
Quick reference by capacity: 1-person models run roughly 36x36x72 inches, 1-2 person about 47x40x75, 2-person around 55x45x75, and 3-person about 65x47x75. Measure the footprint, then measure the hallway and doorways it has to travel through.
One variance worth knowing: the Clearlight Sanctuary asks for about 4 inches all around, tighter than the general 6-12 inch guidance. Your model's manual wins over any general rule, including this article's.
Yes, an infrared sauna can go on an upper floor, as long as the framing can carry 400-700 lbs including occupants. Flooring is the easy part: it sits right on existing hardwood, tile, concrete, or laminate, and you use the protective mat that's usually included. Most residential floors handle that weight without issue. Upper-level wood framing is the one case where it's worth checking your home's as-built specs or asking a structural engineer. If you want the full footprint breakdown, that's in how much space do you need for an infrared sauna.
Electrical: outlets, circuits, and the GFCI mess
One-person saunas run on a standard 120V/20A circuit, which is the outlet with the horizontal slot, the same type your kitchen appliances use, known as a NEMA 5-20. Two- and three-person models typically need a dedicated 240V/20-30A circuit, the kind a dryer uses, and having an electrician run a new one costs $150-$400 depending on how far the panel is, for a full breakdown, see these infrared sauna electrical requirements.
The surprise people hit most often: the existing outlet turns out to be 15A, not 20A. It looks nearly identical, and it needs an upgrade. A dedicated circuit just means the sauna is the only thing on that breaker, so the heaters' startup draw doesn't trip it mid-session.
Yes, a basement or garage sauna generally benefits from GFCI protection (that's the ground-fault breaker recommended for damp locations), but your specific model's manual is the deciding voice here, and brands genuinely disagree. Peak Saunas recommends GFCI, especially for garages and basements. Sun Home's Equinox documentation advises against GFCI and AFCI breakers because they can trip unnecessarily. And the Sun Home Luminar requires a GFCI. So read your manual before the electrician visit.
Red flag: An outlet that's 15A instead of 20A looks nearly identical to the one you need — check before the sauna arrives, not after it won't heat.
One rule with no nuance: never use an extension cord. Sustained high current can overheat cords. If the outlet's in the wrong spot, have an electrician add one where you need it.
Before you buy: access and delivery
Measure the path to the room, not just the room. The back panel, which combines the floor and walls into one piece, is the largest component, and the recurring failure we see is that panel jamming at a stair landing or a corner turn, discovered at delivery when it's too late. Walk your route and check stair and corner turning clearance, plus ceiling height, before checkout.
Assembly is easier than the box suggests: flat-packed panels that interlock with cam-lock hardware or steel brackets, two people, 1-3 hours, screwdriver and mallet, heaters usually pre-installed. No professional needed.
Delivery types differ, and the HigherDOSE example is worth knowing: their $999 curbside pallet option drops the crate at your curb with installation not included, so you arrange the muscle yourself. And before your first real session: confirm the panels are secure and the door seals, the circuit is properly rated (not an extension cord), clearance and mat are in place, water and a towel are waiting, then run one empty seasoning session with the door cracked to release the new-wood smell.
How cold is too cold: the 65°F line
A room below 65°F, with 68-70°F ideal, can push heat-up past the timer's limit, so the risk runs in one direction only: too cold, never too warm. (And if you were wondering whether 70 degrees is somehow too hot for the room, it's the opposite; 70°F is squarely in the ideal range.)
The evidence comes from real cold-weather testing: during the "snow series" at a Maine cabin, a Radiant Health three-person corner sauna was measured with a 53°F cabin interior. Worth knowing too: corner saunas heat more slowly than rectangular ones, so shape matters in a cold space.
The fix is containment, not power: an insulated framed enclosure, like that 12x12 framed basement room, keeps the ambient temperature up. More venting or a bigger heater doesn't solve a cold room. If your garage runs cold, can you put an infrared sauna in an uninsulated garage goes deeper on this.
What your specific model actually requires
Requirements genuinely vary by model, more than any general guide suggests. Some plug into ordinary outlets: the Clearlight Sanctuary runs on a standard 120V/15A outlet (NEMA 5-15P), and the Finnmark FD-2 and Sunlighten mPulse Believe both run on 120V. Others need a 240V circuit, like the HigherDOSE and the Luminar. The manual decides; here's the scannable version.
Sun Home Equinox, $6,099. 2-person full-spectrum, 120V/20A on the NEMA 5-20P plug (1880W), around 165°F. Third-party testing backs the numbers: 0.5mG EMF measured by Vitatech, 27 µg/m³ TVOC by VERT in LA. Clearance is 4-6 inches on the sides, 12 inches above. Advises against GFCI/AFCI breakers.
Sun Home Luminar, $10,999. 2-person outdoor unit, 970 lbs, roof overhang around 60x65 inches. Needs 240V/20A on a NEMA L6-20P, GFCI required, licensed electrician, no exceptions.
HigherDOSE Full Spectrum, $8,999 plus the $999 curbside pallet, installation not included. Runs on 240V/15A. Brand-claimed 176°F max; note that's the company's figure, not independently verified.
Finnmark FD-2, $5,995. Seats 2 adults, full-spectrum with red light therapy included, 120V/15A, 4-inch minimum clearance, warranty up to 10 years.
Sunlighten mPulse Believe, quote-priced (no public fixed pricing). 120V/20A despite the premium tier, PulseIQ wavelength presets, 6 inches of clearance above. Honest downsides: the interior feels cramped and the app is buggy.
Clearlight Sanctuary, quote-priced, lifetime warranty. Standard 120V/15A outlet, about 4 inches clearance all around. Compact interior, which is both the selling point and the criticism.
Peak Saunas Aspen and Fuji, 1-person and 2-person respectively. Both fit most bedrooms or spare rooms without special prep.
Safety, aftercare, and what infrared can't promise
No floor drain, no humidity management, no waterproofing. Infrared produces no steam, so those steam-room requirements simply don't exist here. The only things to avoid are chronically damp rooms and uncovered outdoor placement, and you've now read both rules twice.
The care routine is the thesis in miniature: sweat is the only moisture your cabin sees, which is why the door gap plus the 15-20 minute post-session airing is the entire moisture system. It protects the wood, and it's the only maintenance ritual worth remembering.
One mistake worth naming kindly: lots of people over-seal a room to trap heat, which recreates the exact problems venting exists to prevent, namely CO2 stuffiness, dizziness, and eventually mold. Controlled airflow, not zero airflow. Never close all vents mid-session; that rule matters most for traditional builds, but the principle holds everywhere.
For beginners: start with 5-10 minute sessions, 2-3 times a week, and ramp up gradually as your body adjusts. Drink water, and step out if you feel dizzy. Check with a doctor first if you have a cardiovascular condition, are pregnant, or have a pacemaker or epilepsy.
And the honesty moment, because this friend doesn't do miracle language: the big claims about longevity, immunity, and pain relief lack strong research. The research is mixed and often thin. The relaxation benefit alone may justify the purchase for you; that's a legitimate reason, and it doesn't require the unproven ones to be true.
So the honest checklist ends up short: a door gap, normal room air, 6-12 inches of clearance, a level floor, the right outlet, and a room above 65°F. No ducts, no drains, no contractor. The one real variable is your model's manual, and it's worth reading before the electrician visit, not after. The "ventilation requirements" you searched for turned out to be a placement, electrical, and temperature checklist, which is a much better problem to have than ductwork.
Frequently Asked Questions
Do you need ventilation in an infrared sauna?
Not in the way traditional saunas do. Infrared cabins heat your body with radiant heat, so there's no steam and no need for exhaust fans, ducts, or floor drains. The engineered gap under the door keeps air moving, and leaving the door open for 15-20 minutes after each session handles moisture and fresh air.
What is the 200 rule sauna?
The 200 rule is a traditional Finnish-style sauna heuristic about the sum of temperature (°F) and humidity percentage staying around 200. It has limited relevance to infrared saunas, which produce no steam, so most plug-in cabin owners can safely ignore it.
Why should you not shower after an infrared sauna?
Many people wait a bit before showering to let the body finish its post-session sweat and cool-down rather than cutting the experience short. For the sauna itself, the moisture routine is what matters: sweat is the only humidity the cabin sees, so leave the door open 15-20 minutes afterward to dry the wood and keep it fresh.
Is 70 degrees too hot for an infrared sauna?
It's the opposite, 70°F is squarely in the ideal range for the room around an infrared sauna. The room just needs to stay above 65°F; below that, heat-up can outlast the heater's timer. The sauna heats you, not the room, so a warm-ish room only helps.
How is infrared sauna ventilation different from traditional sauna ventilation requirements?
Traditional saunas heat the room's air and add steam, so they need balanced intake and exhaust vents: an intake low near the heater, an exhaust near the ceiling, targeting about 6 air changes per hour. Infrared produces no steam, so a plug-in cabin needs none of that, just the built-in door gap and normal room airflow.
What clearance and floor space does an infrared sauna need in a bedroom or spare room?
Plan on 6 inches minimum on the sides and back, 24-36 inches in front so the door swings open, and 12 inches to the ceiling. The floor should be level within a quarter inch across the footprint. A 1-person model runs roughly 36x36x72 inches and a 2-person around 55x45x75, so measure the hallway and doorways too.
Does an infrared sauna need a dedicated circuit and what does an electrician cost?
One-person models usually run on a standard 120V/20A outlet (NEMA 5-20), while 2-3 person models typically need a dedicated 240V/20-30A circuit, the kind a dryer uses. Having an electrician run a new dedicated circuit costs $150-$400 depending on panel distance. Check that your existing outlet isn't a 15A lookalike before delivery day.
How cold can a garage be for an infrared sauna to work properly?
Keep the space at or above 65°F, with 68-70°F ideal. Below that line, heat-up can outlast the heater's timer, so the unit still runs but may never hit target temperature in very cold conditions. The fix is containment, an insulated framed enclosure or better garage door sealing, not a bigger heater.
How do you ventilate an infrared sauna in a garage with cars, doors, and windows?
Ventilation stays passive: the built-in door gap plus cross-flow from a cracked window or an open interior door does the job, and louvered vents work if you want permanent airflow. Air the space out before sessions and never sauna with a running or just-driven car nearby, since a closed garage traps both moisture and exhaust fumes. No powered exhaust or vent fan with a CFM rating is needed.

Founder & Lead Designer, SaunaCloud®
3,000+ custom saunas built since 2014 · Author of The Definitive Guide to Infrared Saunas · Featured in Forbes, Inc., and MSN
Chris has been designing and building custom infrared saunas since 2014. He wrote one of the first comprehensive books on infrared sauna therapy and is personally involved in every SaunaCloud build — from design consultation through delivery and beyond. His professional expertise is sauna design and construction, not clinical medicine.
Continue Reading
Ready to Design Your Sauna?
Every project starts with a conversation. Tell us about your space and we'll create your custom plan — free, no obligation.